Thursday, April 30, 2015

New Walls - Drywall Up and Painted - One Year Later

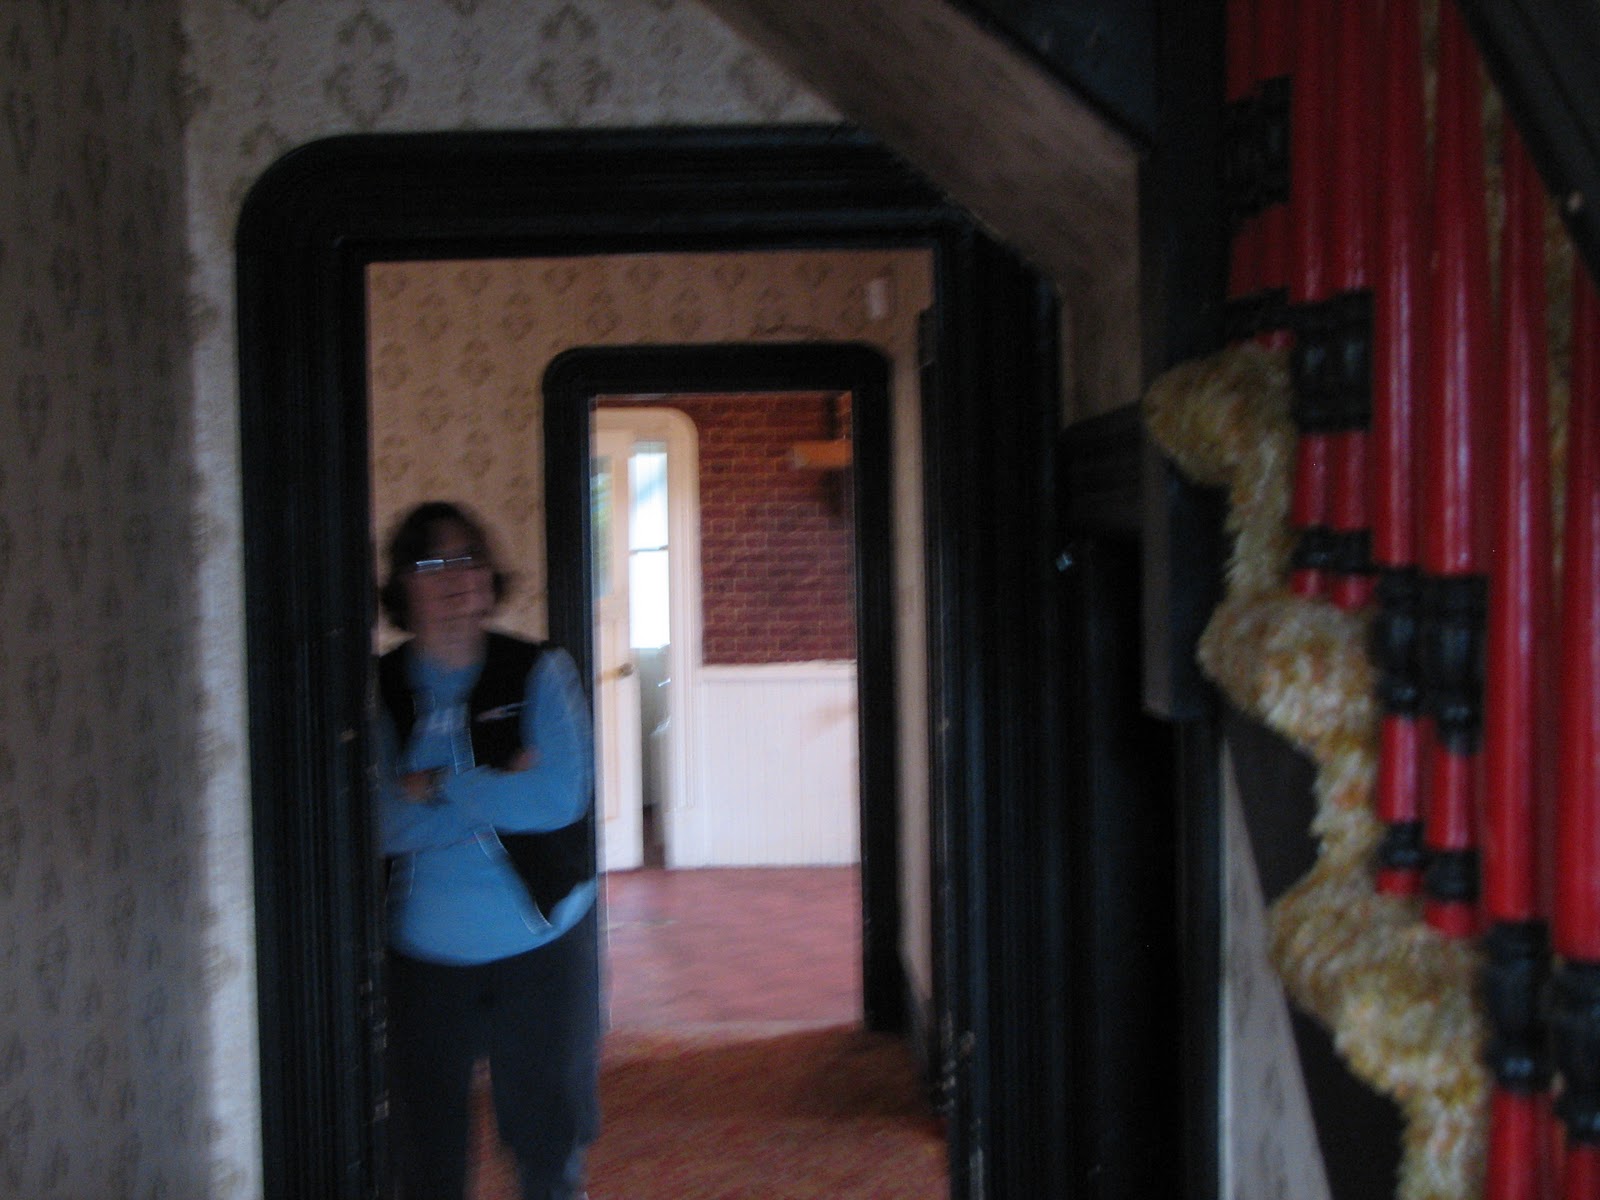
It's been a busy year in Eureka, but I've been slow to post updates. Today I am talking about new drywall over old messy walls and working to make the most from original molding throughout the house. The Eureka house, made from tons and tons of old growth redwood, has interior walls with wide planks attached over 2X4 studs. There were many layers of wall paper, some that fell off the walls and some that was permanently glued to rough redwood planks. We scrapped dumpsters full of old smelly wall paper from the house. Once we had as much paper off as possible we decided to re-cover the walls with drywall. Without removing molding the drywall masters used mostly ¼ inch drywall on the walls – and went either 3/8" or ½" on ceilings.
Leaving the molding in place protected the lovely old molding – but I'm sure it make fitting the drywall more difficult. The bottom molding was trimmed back a ¼" to make a smooth connection between the walls and the base molding.
This was a huge job, but a crew was in and out in a couple of days. The taping and sanding took several weeks, but finished up beautifully. Once the taping and sanding was done we put a finish on all the walls with Tuff-Hide primer-surface applied with rollers. We put on 50 or 60 gallons of the tough hide on, which provided both a final smooth coast as well as the primer base.
We had help with the tough-hide from friends who were paid off with hearty meals. You've seen Dave before in this project. We finished the tough-hide over the July 4th weekend.
With walls covered – all that was left was picking paints and getting it done --- Most of the painting got finished up over a long Christmas Holiday.

Tuesday, May 6, 2014

Bathroom fix-up - the clawfoot tub goes!

Every old house needs a bathroom touch-up.  Ours was a mix of a nice tub and an outhouse.  The WC was set in a dark hole --- we struggled with saving the tub, but in the end we found a new home for the old claw foot somewhere in Arcata.  Here are a few before and after pictures.

Before --- 


We removed some of the redwood "paneling" and found some nice wainscoting - in the original yellow.  A little TSP and the paint looked nearly new-- a hundred years latter.


I'm not even going to show the old toilet -- just too gross.

After --

Here are the after - huge shower - It may not be period but we can live with that.


Unrelated photo of Table Mountain - Butte County - Springtime

Thursday, February 13, 2014

Brass Door Knobs Unearthed!


 The doors throughout the house are covered in tons of paint...  A little hot water, some elbow grease, and some stripper there is a new look.


 Took the paint off a door knob and plate and look what was underneath! 


Now we just need to strip and repaint the door.

Monday, February 10, 2014

Scullery Kitchen Renovation

 We recently got pretty close to finishing our scullery renovation (yep, thats where we keep the skulls)

Before


On the wall you can see the remnants of the California Cooler - or San Fransisco Cooler.  The wall opened to the outside to keep food cool.  Long ago removed and now it just adds a draft to the room.


After


The counter top is a solid oak from Ikea - the two pieced were butt jointed with the edges routered to remove beveled edge and make the pieces fit together.


Saturday, February 8, 2014

Front Porch Renovation


A while back we did a great new front porch renovation! 

Before, the front porch was concrete, so we thought we would bring it back to what it might have originally looked like made of local redwood.


Time to get to work!


We took the porch down, but then Pam couldn't leave the house! So we added a ramp!


This dog made our porch! 

We had a some redwood railings made. Had the porch constructed, and then got to painting! 

Here's the finished product!


Sunday, October 9, 2011

Before and After


Every once and a while it's important to take stock of your seemingly endless project and highlight achievements through a series of satisfying "Before and After" photos!


After

Before, Front Porch 


Before, Skirting (more info)

After, almost done

Before, Front Parlor

Later, but not quite done

Before, The Second Parlor (see flooring post)

Later, not quite done on this one either, but it looks better!

Before, Stairs

In progress, stairs

Before, Stairs 

In progress, Stairs

While clearly there is work to do, a lot has been accomplished! And I didn't even mention the Mystery Door, or Mystery Well! 

Sunday, October 2, 2011

The Front Door Saga Comes to a Close


The front door story -- We searched Eureka and beyond thinking we could find a replacement door similar to all the lovely Victorian doors we see around town.   In the end, short of a custom made door, we decided to work with a local door supplier and come up with a new door from Simpson Door Company.  


The people over at Forbusco Lumber in Fortuna - and Eric Negrete put to door together and did the installation.  It's always a challenge working around an old door sill.

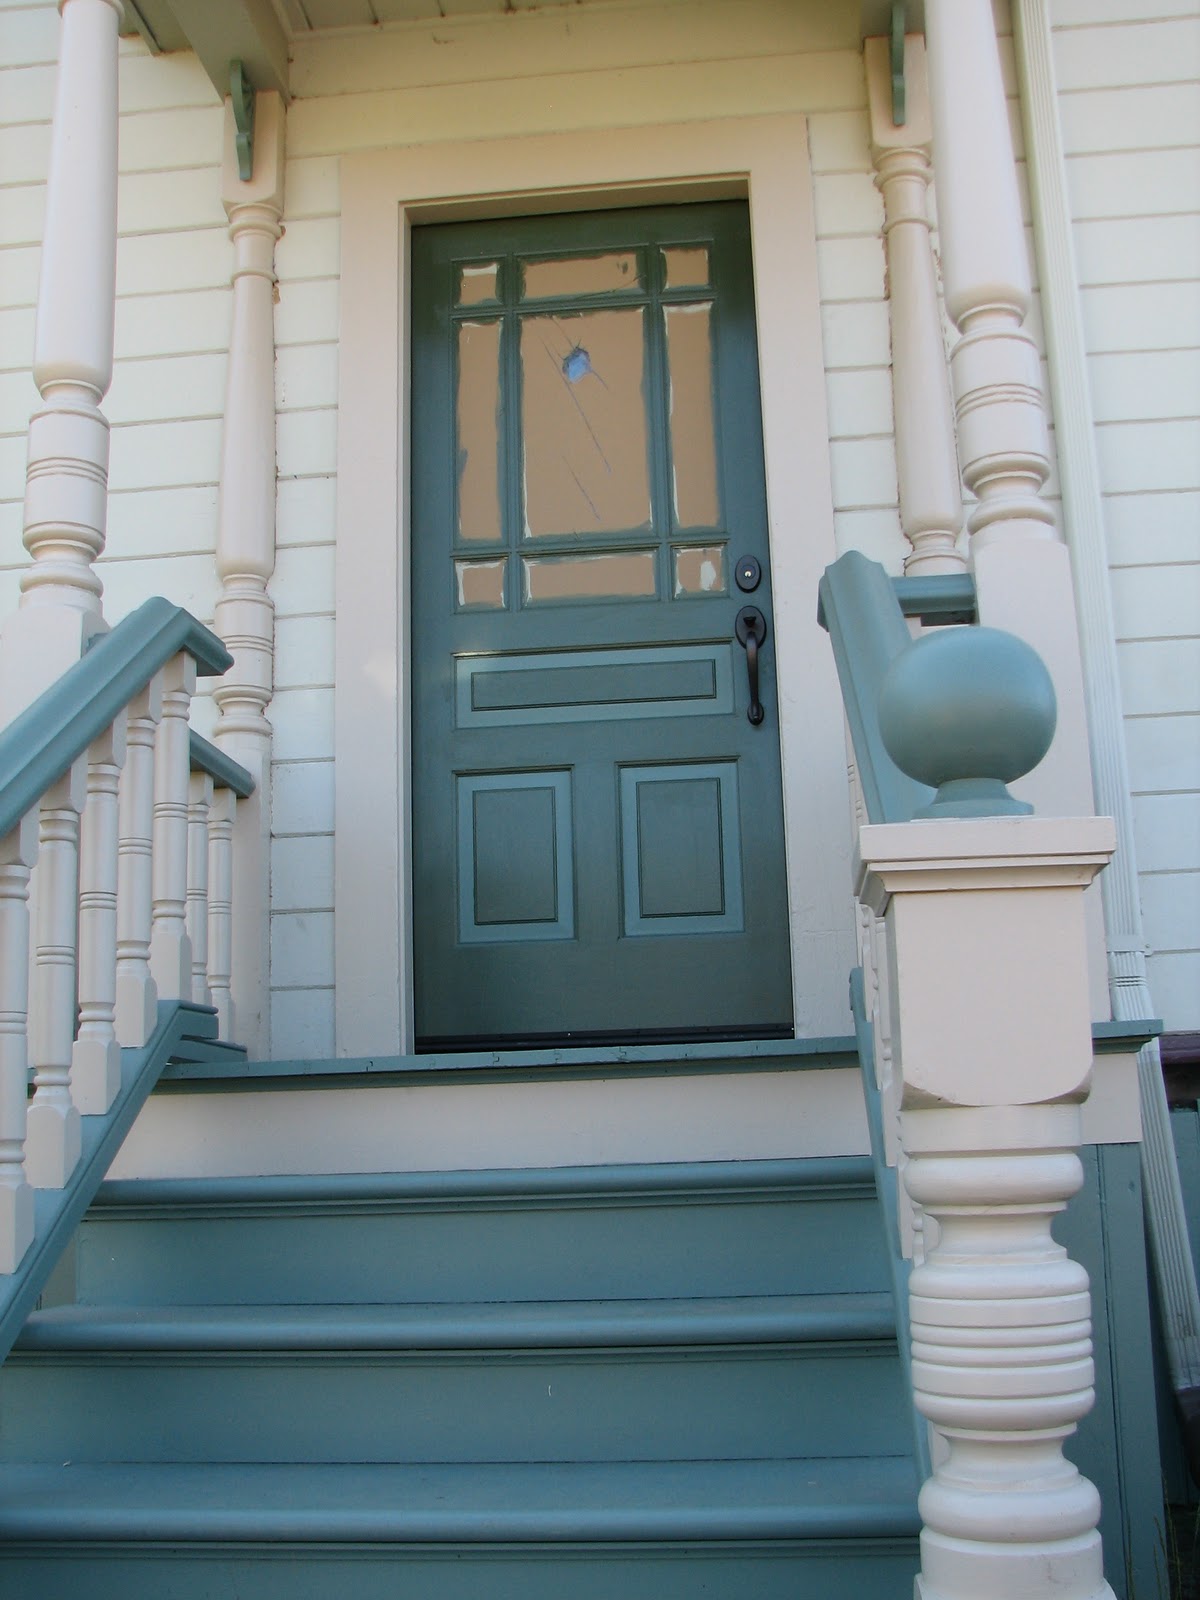
While it's not a traditional Eureka styled door we were able to order one that matched many of the 5 panel doors that are inside the house. We have a half glass with the nine panels of varying sizes combines with the bottom half matching the 5 panel look. The door was outfitted with new hardware from Nostalgic Warehouse; here is the Victorian Plate with Victorian Knob.

We ordered the door primed and we now needed to pick some colors for paint. 
To recap, we started with the porch and door, as always happens, once the porch was replaced then to front door looked especially bad.  Once we ordered a new door it was primed at the factory and installed with a new frame to replace a hundred years of paint and abuse.  


Our next job was pick some Victorian door colors and paint it up.   Thee coats of paint latter the door is now done (we still have the masking on the windows, waiting for a curtain).